The Definitive Step-by-Step How to Take Clothes Pictures
⌨️
In a competitive universe, such as e-commerce, seeking differentiation strategies is essential to stay in the market and still get ahead of competitors.
Anyone who works with online sales in the fashion market and aims to stand out, must have already realized that having a product quality image influences a lot on its receptivity with the public.
While the photo needs to be different from the same items your competitor sells, it has to instigate the consumer’s desire to have them.
Read on and see the best tips on taking pictures of clothes!
Tips on how to take pictures of clothes
You don’t need to be a professional in photos or buy the most expensive camera on the market, especially if you’re opening your e-commerce now. You just need to follow these steps:
Understand your audience first
The first step for you to be able to put the following ones into practice is to know who your audience is. It is important for you to know their tastes, goals, concerns, what they are looking for, in order to be able to please them and even think about neuromarketing techniques.
If you haven’t established this profile yet, review all of your shoppers’ data and establish a persona that sums up who most are.
For example, if you usually sell to women aged 20 to 35, 90% of whom have a middle-class economic pattern and 82% have pets at home, you can summarize this data in a 28-year-old middle-class woman and who likes pets.
The more data you can gather, the richer in detail the profile of the persona, who represents your ideal client, will be.
Watch Escola Responde and see more photo and design tips:
???
prepare the environment
There are items you need to pay attention to, such as angulation, lighting, and background.
It can be more difficult to control the light when taking pictures indoors. So, if you don’t have a lot of experience yet, it’s best to start shooting outdoors — with natural sunlight — or at least in places that have a lot of large, open windows.
Improving a mini studio indoors can be a good option, which does not require as much investment and allows you to have more flexibility when it comes to having a climate with good sunlight.
The yellowish light, being more similar to the natural one, gives a better result than the white one. As for the background, it is recommended to use a white one. You can build it with a piece of EVA.
Angulation needs to be tested in several ways, both regarding the position of the light in relation to the object and the position of the camera in relation to the object. For natural or artificial light, placing it at 45º, either above or below the product, is what usually works best. For machine position, the more angles shown the better.
Prepare the clothes and think about the details
It has to be well-presented, without dents or any kind of stain. Having some utensils can improve the look of the photo. A tripod will prevent them from getting shaky. Pins, hangers and pins can be used to secure the garment and adjust it to the model or the mannequin.
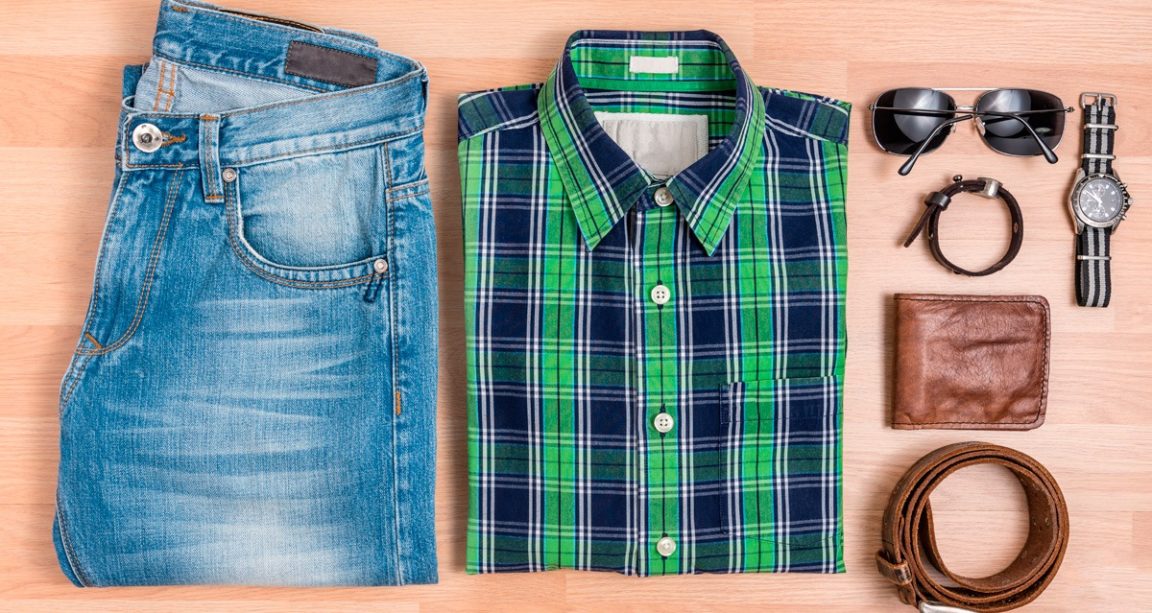
Thinking about the composition of the photo — with objects around it that match the clothes — can add that extra charm to the final result.
Know the difference between having a model and a dummy
You can use a real person to pose for your photos. You don’t necessarily need to be a professional model.
The advantage of having a person posing is that it will give more confidence and security to the client as to how the clothes can fit on their body.
Also, having a real person who represents the persona’s characteristics is another factor that will bring identification. If you work with a more alternative female audience, you can have a model with tattoos or colored hair. If the audience is made up of executive men, the model needs to represent them like that, being a man with a more serious profile.
Using a dummy, it can be more difficult to pass that security and identification. However, the positive side is that you will not be dependent on the person’s availability or have to pay fees, as may be the case with a model. One idea so that the photos don’t look too artificial is to try to make the mannequin invisible, using an editing program.
There is also the option of using only hangers or photographing the products on the floor. For this case, follow the idea of thinking about the composition of the photo so that it doesn’t look unattractive. But avoid excesses, so as not to lose focus on clothes.
Understand a little photo setup
It doesn’t matter if you choose a camera or a smartphone, but know how to use them with maximum efficiency. Professional machines and many cell phones allow ISO, aperture and white balance settings, for example.
A DSLR camera that has manual exposure control and aperture settings is recommended if you want a truly professional experience. But the cell phone can also “break a branch”, if your budget does not allow the investment yet. Here are some tips:
- the focus aperture, in both cases, is ideal above f/11;
- shutter speed must be 1/200 or less;
- avoid the machine flash, and especially the cell phone, if you don’t know how to use them well;
- the ISO needs to be between 600-640, if it is higher than that it will cause noise in the image;
- white balance can be set to auto mode, or adjusted according to the light you are using, such as natural, tungsten, LED, fluorescent.
Keep a pattern in the photos
With the photos ready, their cutouts need to be the same size. Items shown should follow an alignment pattern, preferably centered. It is also suggested that the lighting used, the profiles of models or mannequins and the compositions also follow a pattern. This will harmonize the consumer’s overview, and the chances of pleasing the user in the final result will be greater when you post them on the platform.
Otherwise, as beautiful as the photos look, they can feel disorganized or messy. This will influence the customer’s satisfaction (or not) and the desire to have the product.
With these tips on how to take pictures of clothes, you can now improve the general appearance of your e-commerce and make a good impression on the visitors it receives. With that, you will have increased sales possibilities.
If you always want to have precious guidelines to have a better e-commerce than the competition, don’t forget to subscribe to our newsletter!
Check more articles in our categories Fashion & Looks & Luxe ou encore 90s Outfits.
Thanks for visiting we hope our article The Definitive Step-by-Step How to Take Clothes Pictures
, help us and share the article on Facebook, pinterest and whatsapp with the hashtag ☑️ #Definitive #StepbyStep #Clothes #Pictures ☑️!